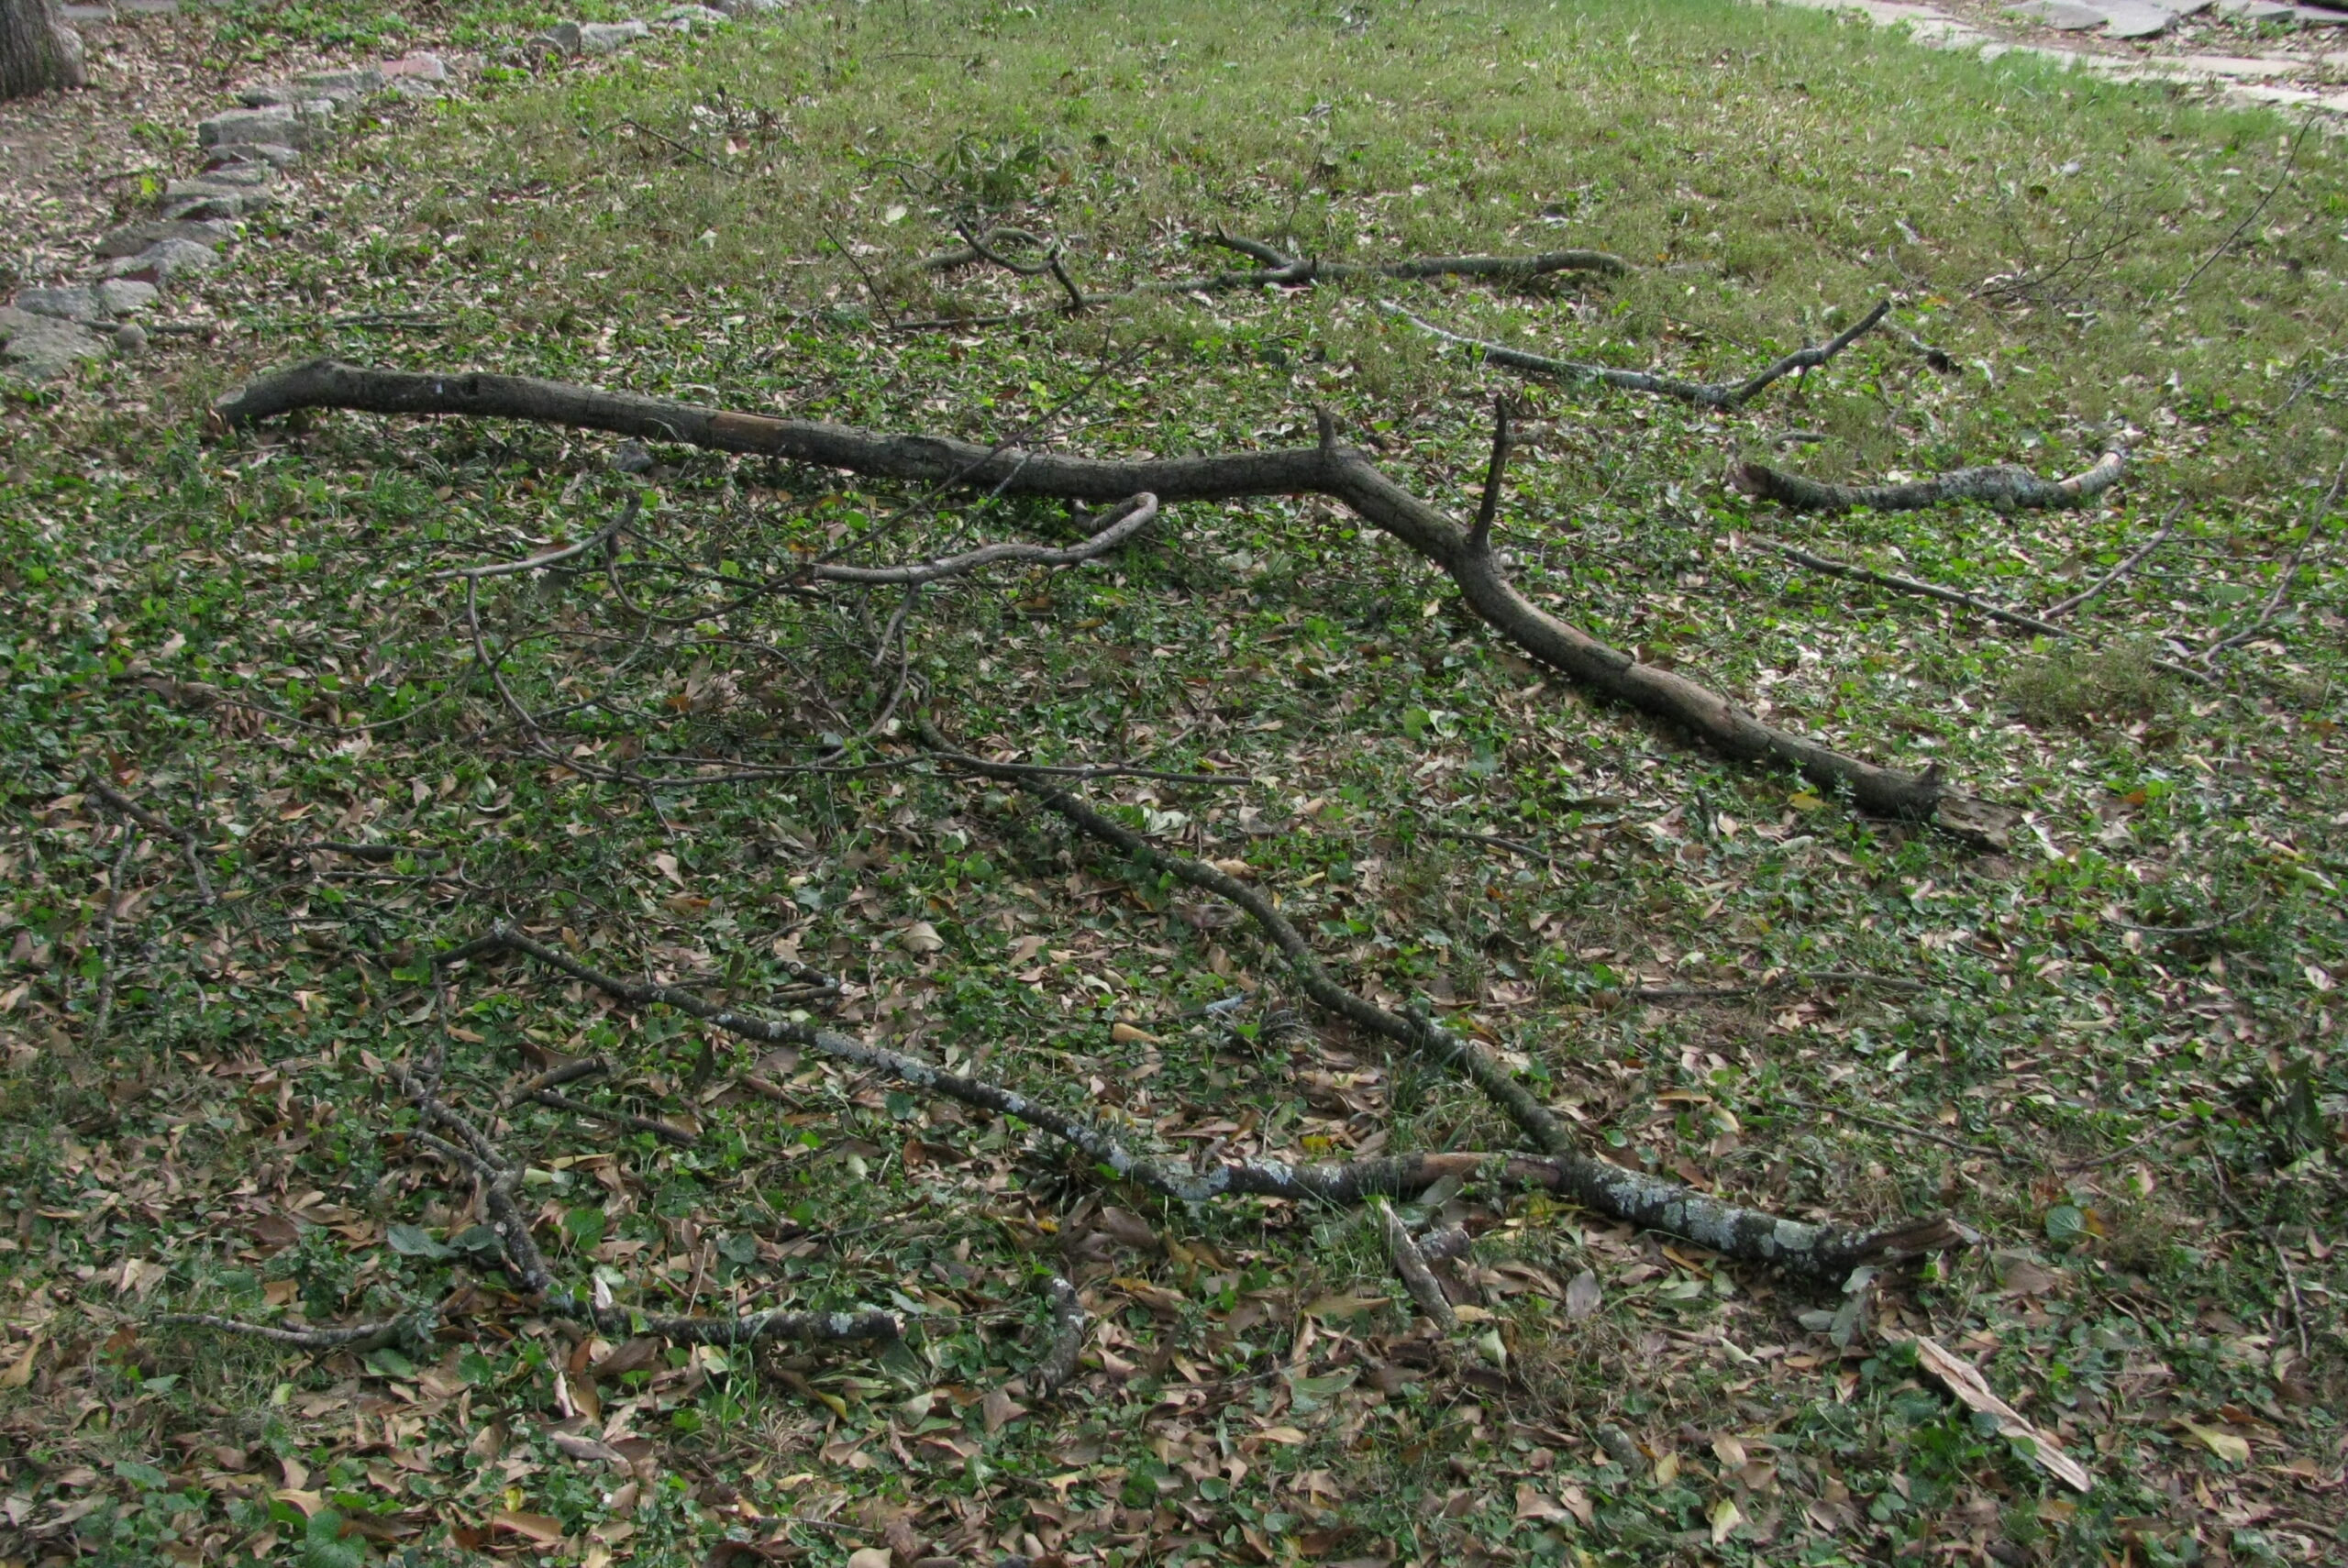
Atlanta and the surrounding metro area are blessed with an abundance of trees compared to other cities of similar size. It’s unusual for a yard to not have at least a couple of trees shading part of it, which leads to the most frequently asked question at plant sales, “What grows well in shade?” While most people are thankful for the shade that these trees provide from the summer sun, the thankfulness turns to irritation in the fall because the trees drop their leaves and dead branches. Seasonal pruning of shrubs also creates piles of ‘yard waste’ that most people bag up and set on the curb. There is another option for disposal of this material that will enhance your garden beds and return the nutrients that the trees and shrubs have removed from the soil back to square one, thus completing the nutrient cycle.
Hugelkultur translates roughly from German as “mound culture” (so I've been told...) and was a common practice in Europe centuries ago. It is a technique that is regaining popularity with permaculturists and gardeners because it mimics the nutrient cycling that naturally occurs in forests. It also helps the soil to better retain moisture which reduces the need for supplemental watering of plants and helps them to survive prolonged periods of drought. Trees and other woody plants naturally accumulate and concentrate minerals from the soil as they grow, so by incorporating woody materials back into the soil these minerals are released and made available to plant roots as the materials are broken down by soil microorganisms. All-natural fertilizer, less watering, and healthy plants. Sounds like a win-win situation.
A hugelkultur bed can be started on the existing ground surface or can be partially buried depending on the desired final height. The photos in my example are from a vegetable garden bed that I constructed in my back yard using 1) Branches from pruning back shrubs, 2) Fallen leaves and small branches from oak trees, 3) Partially composted kitchen scraps and 4) The topsoil that I dug out of the bed area prior to starting. You will need some soil to cover the top of the pile, so if you want to start on the existing ground surface and end up with a raised bed you can either remove the top 2” of soil or find another area to borrow some topsoil. The latter option is a necessity if you start on eroded or clayey soils that lack a good topsoil layer. Once the necessary materials are gathered and the site chosen it’s time to get started.

I made my bed outline 3 x 8’ because that’s how big my other raised beds are, but your bed can be any shape or size. Rectangles are kind of boring, so don’t be afraid to get creative.
I saved the dirt I removed on a tarp so it would be easier to replace it once I finished.
Once I started hitting clay I stopped digging. I’m fortunate that my garden area has had 50 years or so to build up a nice layer of topsoil since the house was built, so I was able to go pretty deep. Soil transition layers vary widely, but once you hit clay or mineral soil you should probably stop.


Chopped up twigs, sticks, pruned branches, etc. go in the bottom of the trench. This was my first attempt at building one of these beds and subsequent reading has made me wish I had put some larger diameter branches/logs on the very bottom. The larger branches have more biomass, will take longer to break down, and have the ability to hold more moisture than the small stuff I used. C’est la vie. Next time. Water down the woody materials well before proceeding to the next step.
Partially composted kitchen scraps went on the wet branches. This is what I had available, but anything with a high nitrogen content, such as fresh manure, alfalfa, green grass clippings, or coffee grounds will work. The fresher and greener the better. My material was partially composted, so had lost some of that valuable nitrogen, but it was what I had on hand, so it was what went in. I drink enough coffee that it was probably 1/4 coffee grounds anyway, so I wasn’t too worried. The reason that high nitrogen material is needed is that the woody material is high in carbon, which is slowly broken down by fungi and microorganisms in the soil. These decomposers need the easy to digest simple sugars and nitrogen in the green material to build their bodies and secrete the enzymes that allow them to break down the more complex carbon compounds in the wood.


Soil goes back on top. That’s about 6-8” of soil, but as little as 1-2” would suffice. Just enough good soil so that plants can have a healthy root zone to start growing in until they are able to tap into the bounty below.
This is the bed as it is today with some pepper plants growing in it. I surrounded the bed with several large sections of an oak branch that came down during a storm a few weeks after I built the bed. It helped define the bed and prevent soil erosion during heavy rains. The soil has settled considerably as the woody materials have broken down.

My anecdotal evidence for improved moisture retention is that the pepper plants in this bed showed less leaf wilting than their counterparts in my other beds that are just straight soil on many hot summer afternoons. We also utilize woody debris (often tree trunks) in the propagation beds at the farm and our plants there are doing great. I see fungal mycelium strands running through those beds every time I weed or plant something new. Fungi break down the wood, and in the process create vast networks of mycelia (think of them as 'roots' for fungus) that transfer nutrients and water throughout the area. Most plants can "barter" with the fungi for nutrients in exchange for some of the sugars they exude from their roots. Search for "soil food web" if you'd like to learn more about this fascinating process.
